The plaster method
These girl’s experiences really inspired me: Katastrophic, Couture Stories, Sew not work
Okey, so they say I need some Plaster of Paris bandages, a container with water, something to protect the floor, bandage scissors, and some Vaseline or similar to not get glued to the plaster. Got it! Let’s do this!
I bought 8 rolls of bandages, and cut them into stripes, about a span long. I wore some old underwear which I protected with plastic wrap. I did not have Vaseline, so I use some random hydrating cream instead, “that will do” I thought.
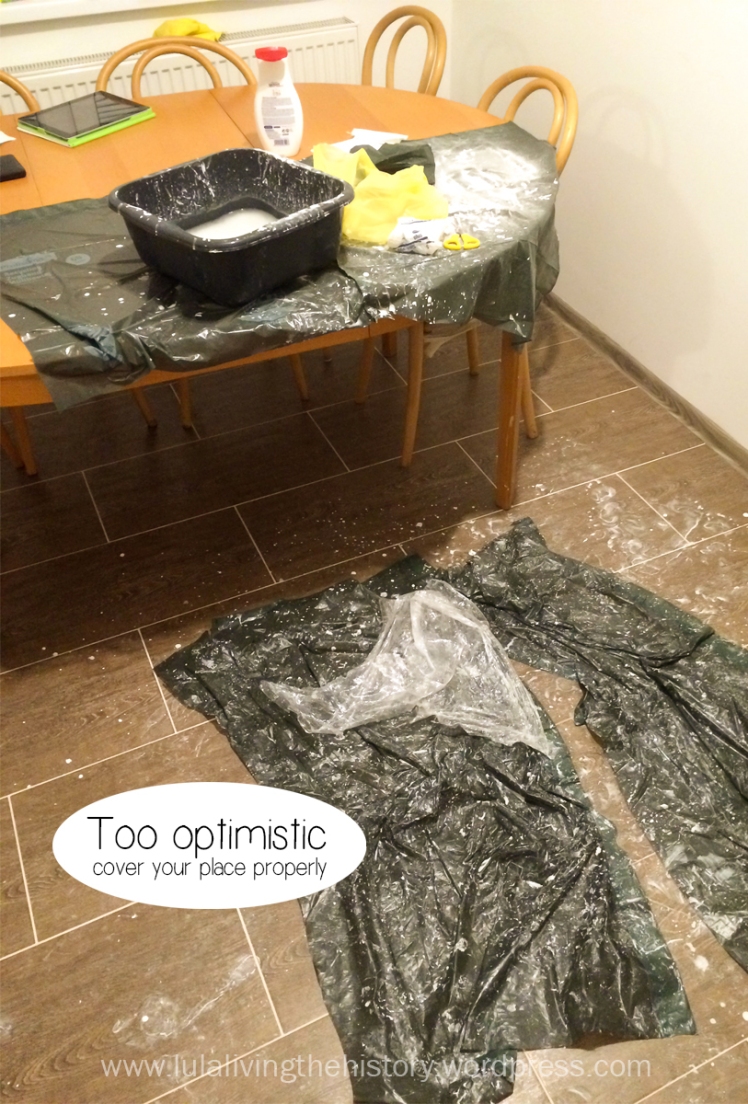
We laid some trash bags on the floor and on the table. And my boyfriend started covering me with the bandages. Four stripes after, his shorts, the chair, the floor around the trash bag, the table… were covered in plaster. Don’t ask me how. You can imagine how did the kitchen looked like after 8 rolls.
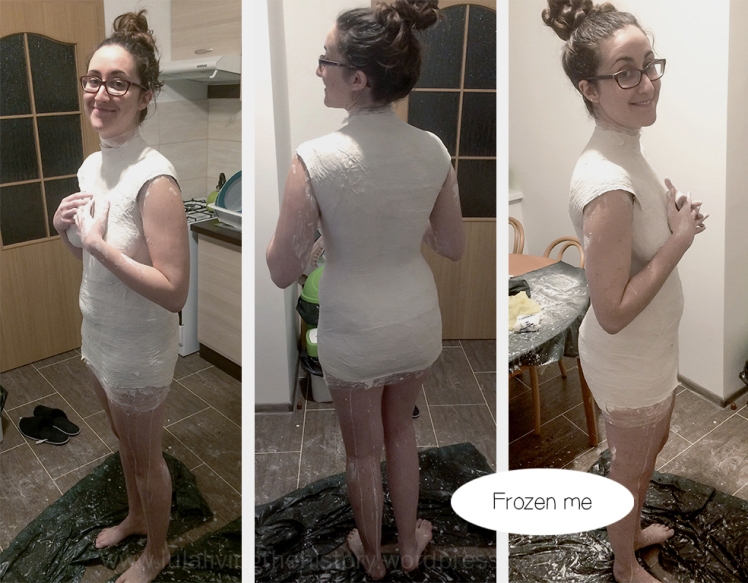
I took deep breaths while covering my breast, that way, when it dried, I had plenty of room to breathe. This is important: remember to breathe deeply at that stage so when it gets dry you do not feel trapped, it can be a bit claustrophobic.
When the bandages started drying, I also noticed that my skin was partially glued to the plaster…. hydrating cream? Seriously Lula? Guess what, it won’t do, cream gets absorbed by the skin, so it is kind of useless. (It left a nice smell in the cast though). I tried to get my skin back. I thought I was moving slightly and subtlety as a ninja, when my boyfriend pointed out that I was going to ruin everything if I did not stayed put. It turns out I am not as subtle as I thought.
He covered me from neck to hips, derriere included. And he went to the shower. Meanwhile I stayed in the kitchen, not able to move until it got a bit dry. You know at first, the bandages are kind of warm, but as soon as they start drying, you feel really cold. Wet and cold. Boyfriend came to the rescue with my hairdryer. I cannot tell how long did it take, but around 1h 30 min maybe, 2 hours until the kitchen and ourselves were clean. So be prepared for be standing a while.
Once dry it’s time to cut the cast and set you free. This is when people that have done this before strongly advise you to use the proper scissors. I did not listen. I should have.
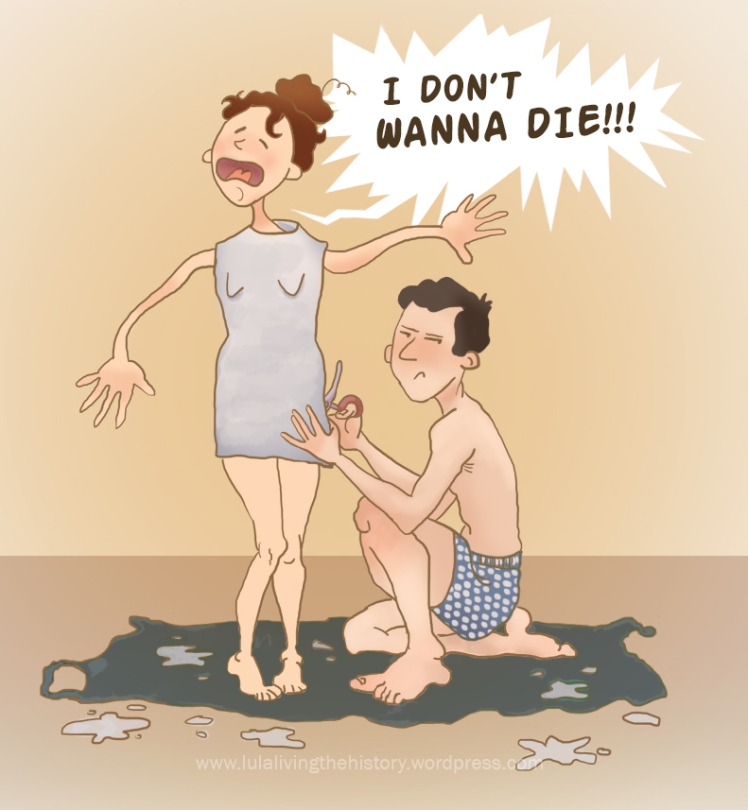
I had some big scissors, but they did not work that well. My boyfriend grabbed a kitchen knife and I paled. I think I might have begged for my life, I also tried to escape hopping away. In the end we used some small scissors, a lot of patience and it worked. When we finished, I was still in one piece , the cast in two, so mission accomplished.
We laid the two pieces on a table we don’t use. It took about day 2 days to completely dry. I use some regular plaster to reinforce some parts that seemed weak. My failed ninja moves produced some cracks in the cast. Or maybe it was the scissors. I covered them with the plaster too and aimed for a smooth surface. I let it dry again for a day or so. (I am not sure because I just left it there until I had time to work on it again).
That is it for now. I hope this weekend I get to fill the cast with foam. Hopefully I will be able to share soon the results.
Check the steps before in Part 1 and the latest news in Part 3


3 thoughts on “DIY Dress Form – Part 2 –”